Create a word-cloud in 5 simple steps

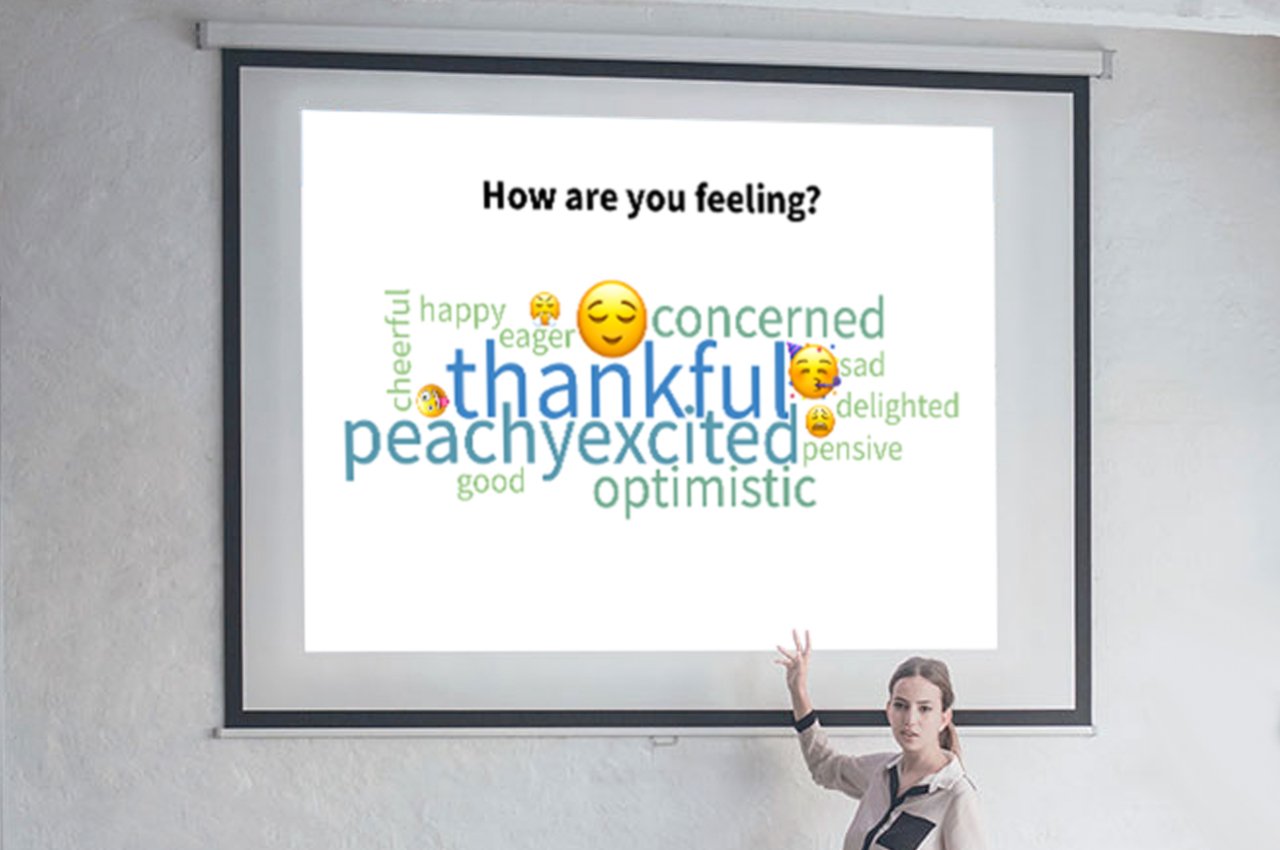
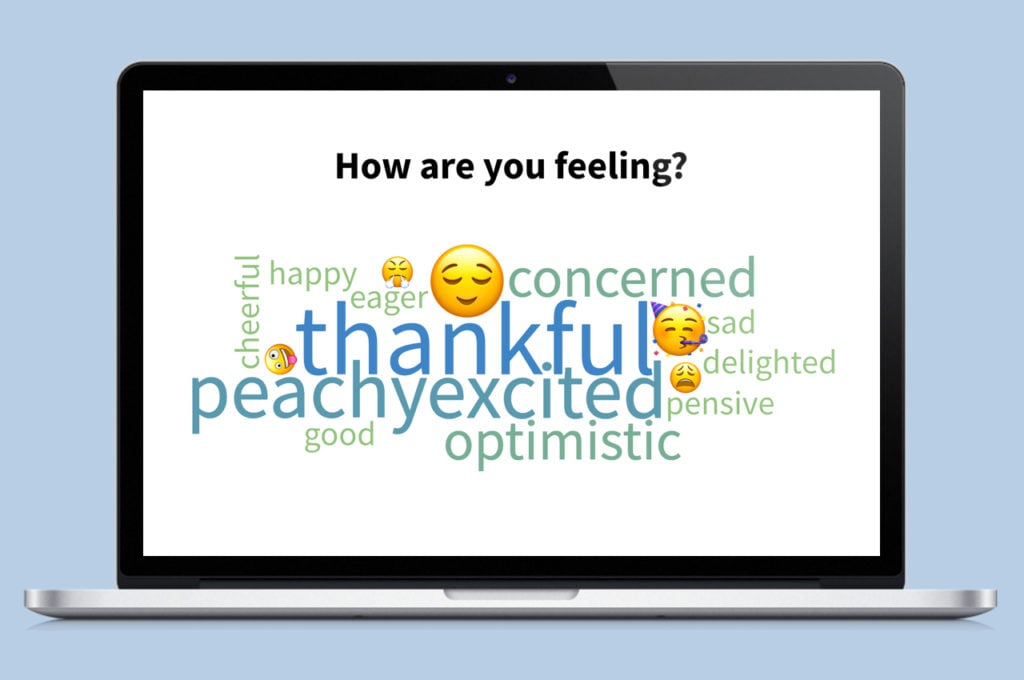
So, you want to create a word cloud? We have you covered. Word clouds are a creative way to convey a lot of information in a single image. Poll Everywhere offers a variety of ways to customize a word cloud, including an option to make the image more dynamic.
Poll Everywhere’s live audience response software is used to bring your presentations to life by adding an element of interactivity and engagement to your slide deck. It also offers an easy way to create a word cloud. All you need is a Poll Everywhere account. Don’t have one? We have a solution for that, too. Sign up here to create an account today. Since word clouds have a wide variety of use cases, it can be easy to find yourself stuck in analysis paralysis. We’ve created some word cloud examples below to inspire you. The process is simple: just edit the visualization settings to fit your desired look, enter your question and responses, and let Poll Everywhere handle the rest.
Step 1: Log in to your Poll Everywhere account
Step 2: Click ‘Create’ at the top left
Step 3: Select ‘Word cloud’
Step 4: Enter your word cloud question
Step 5: Click ‘Create’
Tip: Here are 10 word cloud activities for the classroom
You have successfully created a word cloud, but it may be a little… empty. You can’t have a word cloud without words, so let’s add some. Poll Everywhere allows participants to submit answers via their mobile phone or other web-enabled devices. However, for the sake of this tutorial, we’re going to enter responses manually from the dashboard in your Poll Everywhere account.
Add words to your word cloud
- Click the title of your word cloud on the ‘My Polls’ page
- Select ‘Test’ from the headers on the right-hand side
- Activate the poll by selecting the ‘Activate’ button on the drop-down menu
- Enter your response in the white pop-up window on the right of the screen and click ‘Submit’
Pro tip: Submit multi-word phrases with “-” or “_”, such as “very-sleepy”.
Ta-da! Your word cloud has blossomed. You can add words one at a time, or enter multiple words in the text box separated by spaces to speed things up. Each word will automatically appear in the cloud when you click ‘submit’.

Words grow larger within the cloud if they’re entered multiple times. You can use this to help define the subject of your word cloud, or to add variety to the image. During live audience polling, the largest words are the most popular, which creates some friendly competition as participants try to inflate their favorites. For more ways to incorporate healthy competition into your next event or presentation, check out our in-depth guide.
Once you have all your words entered, it’s time to personalize your cloud. Spice it up with custom colors, fonts, background, etc. You can even choose how you’d like the responses to appear by selecting ‘Text Wall’, ‘Word Cloud’, ‘Cluster’, or ‘Spotlight’ under the ‘Visual Settings’ drop-down menu.
Saving your word cloud is easy. When complete, simply click ‘Export’ on the bottom right and then select ‘Screenshot. Poll Everywhere seamlessly integrates with PowerPoint, Google Slides, and Keynote, making it even easier to include your word cloud in your next presentation.
Check out the examples below for ideas or inspiration on what you can do with word clouds. Click any image to copy into your Poll Everywhere account.
With a Poll Everywhere free account, you can create any number of word clouds. Check out our paid plans for full word cloud customization capabilities, including custom branding and team collaboration.
