
Branded response pages are now available for Poll Everywhere customers on certain premium plans.
Established and aspiring brands know the importance of consistent, polished branding. Poll Everywhere has always offered unparalleled brand customization in the live chart view — the animated, real-time chart that displays audience responses on the presentation screen.
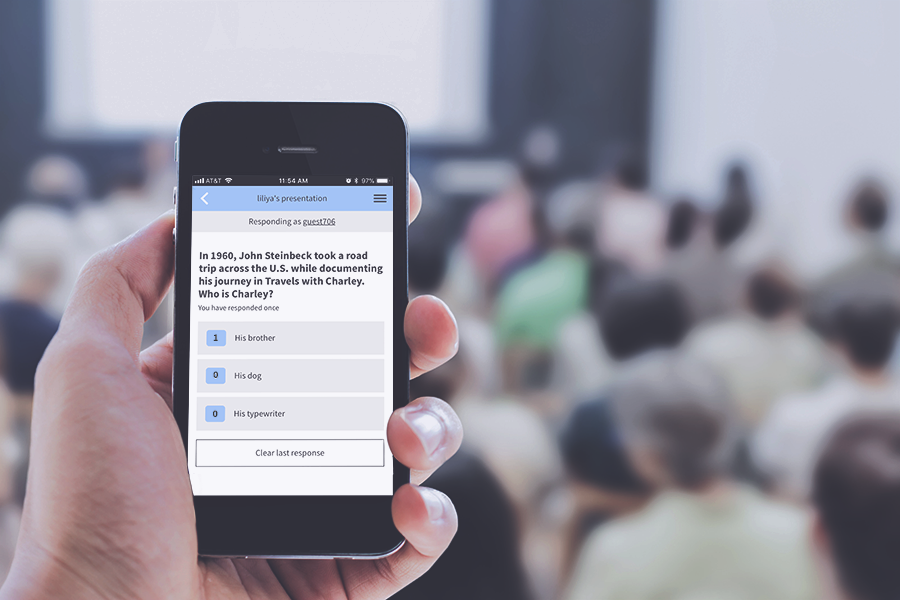
That extensive customization is available on the new branded response page. This is the page audience members open on their personal devices to respond to your Poll Everywhere activities, accessible at pollev.com/your-username.
This new addition means the presenter can offer the audience a seamlessly branded experience when responding to activities. Customizations extend to the wait screen that the audience sees when no questions are active, and the response screen for each activity type.
Select your brand colors for:
- Background
- Header
- Text
- Button text
- Answer display
You can also upload your logo to complete the effect.
Where to find the branded response page settings
Branded response page customization is available in the settings menu. You can reach the customization panel by logging into your Poll Everywhere account, selecting “My settings” in the settings menu, then selecting “Branded response page” in the left sidebar.
You’ll see two tabs in this settings menu: “Colors” and “Content.”

How to customize your branded response page
- In the “Colors” tab, select the page you want to customize from the dropdown menu.
- Select the component you want to change (such as header color, or primary button text color), then make a selection from the color picker that appears. Repeat for each section of the response page you want to customize.
Already have a specific color in mind? By default, you can enter hexadecimal values here. You can also switch from hex to RGB colors, if you prefer. To do that, look for the “Switch to RGBA” option towards the bottom of the page.
Notice that as you change the colors on the page, the live preview to the right of the screen updates in real time, giving you an at-a-glance look at precisely what the audience will see on their devices.
Note that when you make changes to this page, those changes are not saved by default.
When you’re satisfied with your changes, click the red “Save changes” button.
Changes you make on the wait screen page will apply to all other response pages, so there’s no need to customize each response page individually. To see how your changes will look for each activity type, preview changes by selecting an activity type from the dropdown menu.
To change the logo and/or text on the wait screen, switch to the “Content” tab and enter the relevant options.
Not satisfied with your changes? Start over by selecting “Reset to default.”
Considerations for administrators of large accounts
There’s no need for each sub-user to make these changes individually. Instead, simply make the changes from the parent account, and select “Apply to sub-users” at the bottom of the options page. This will make the changes you’ve made the default settings across all sub-accounts. Sub-users will still be able to make changes to their own account, and those changes will only affect their response pages.
Custom usernames, which give presenters the ability to customize the url of their response page, go a long way toward creating a truly personal, branded experience. Now, branded response pages add new levels of customization to make consistent, seamlessly branded events a breeze.